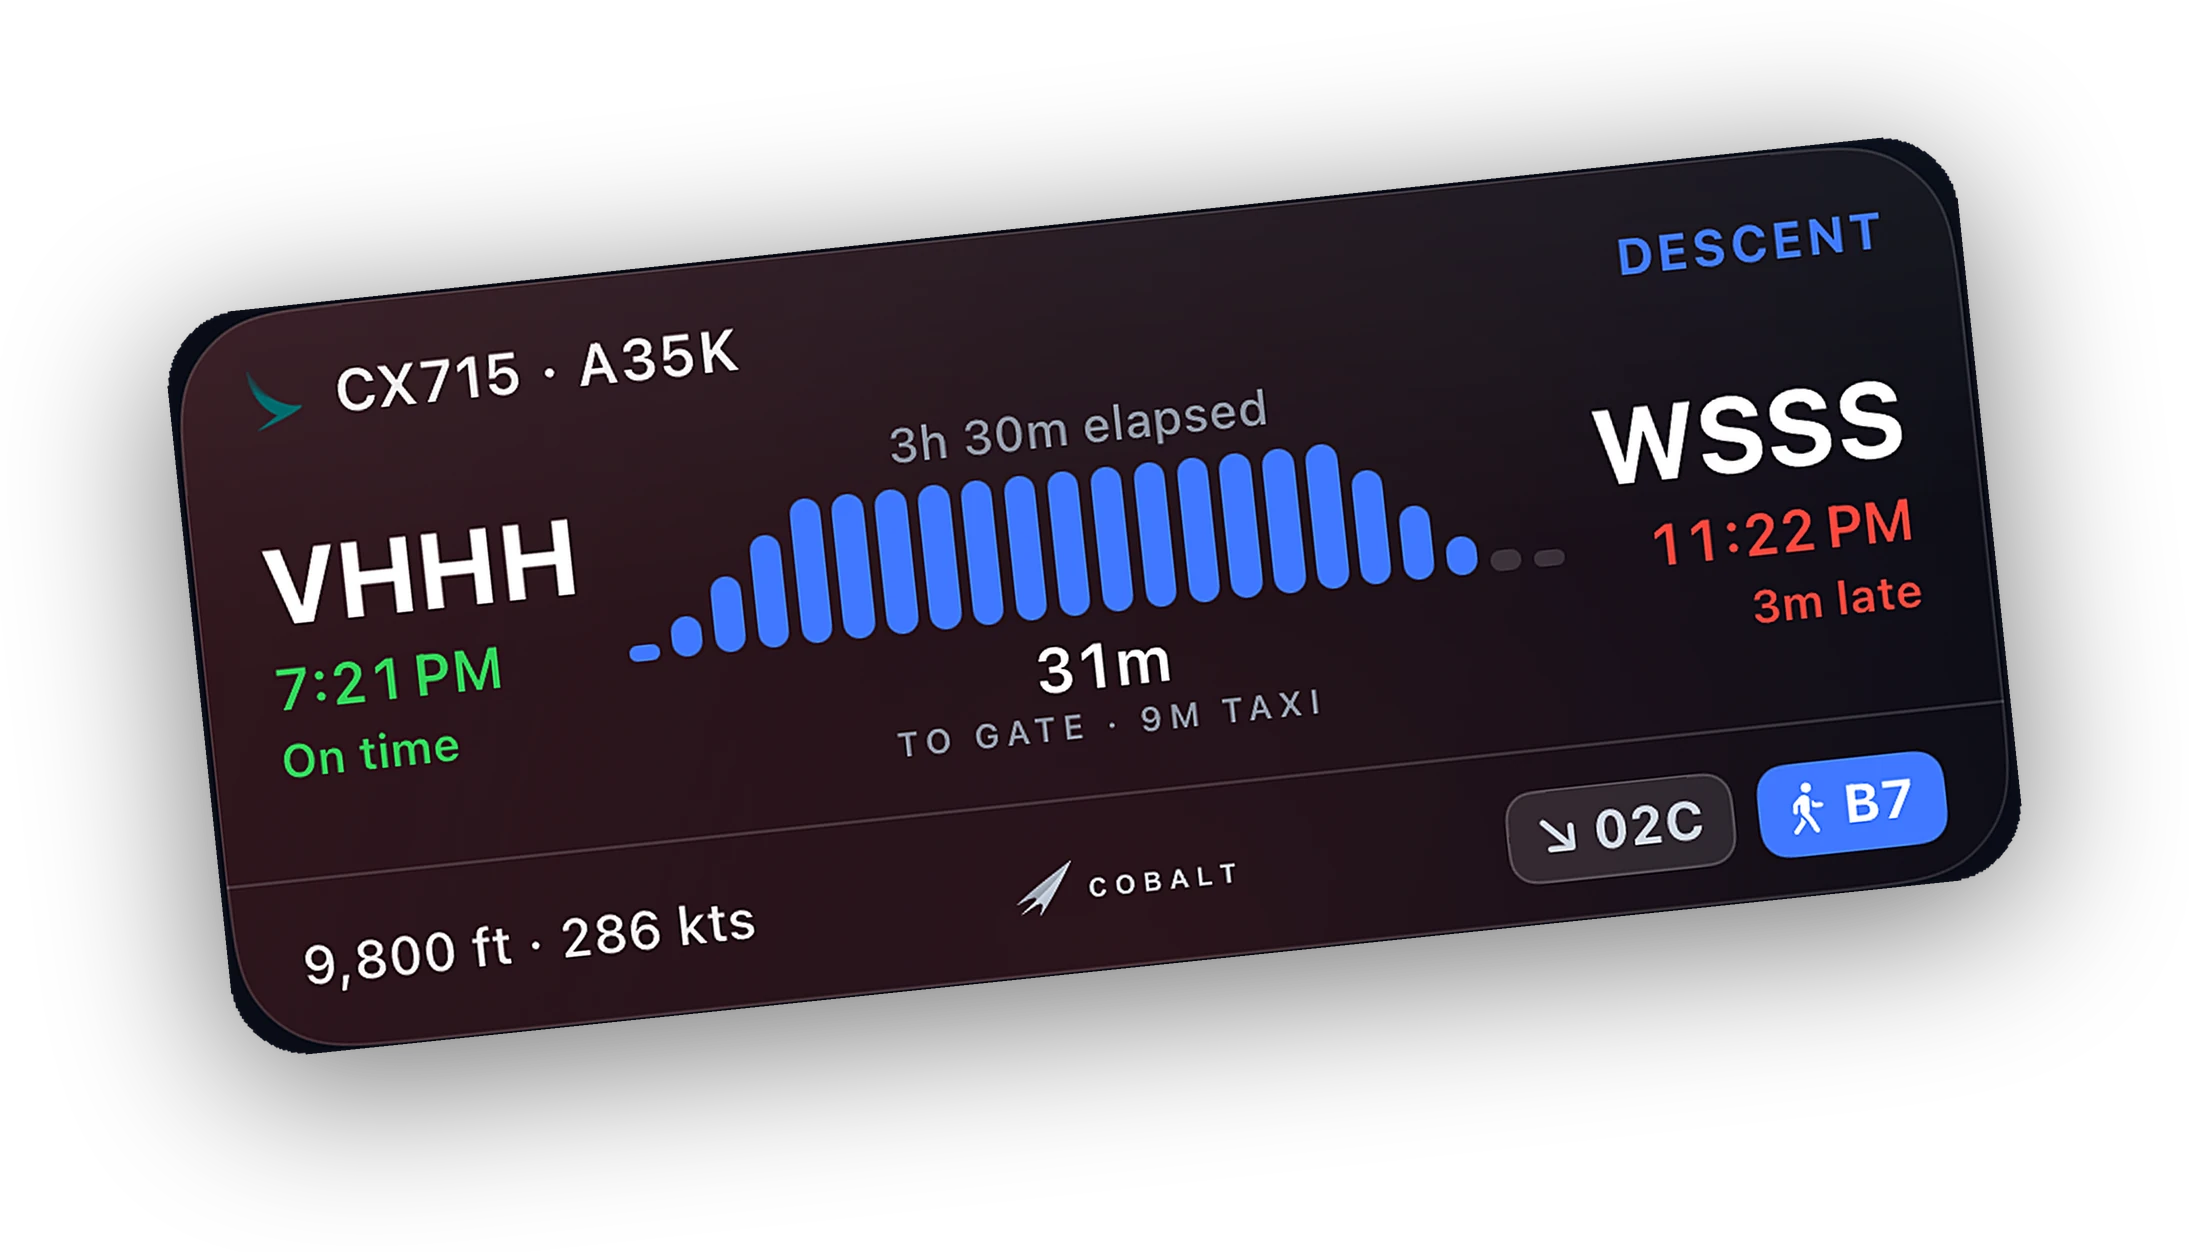
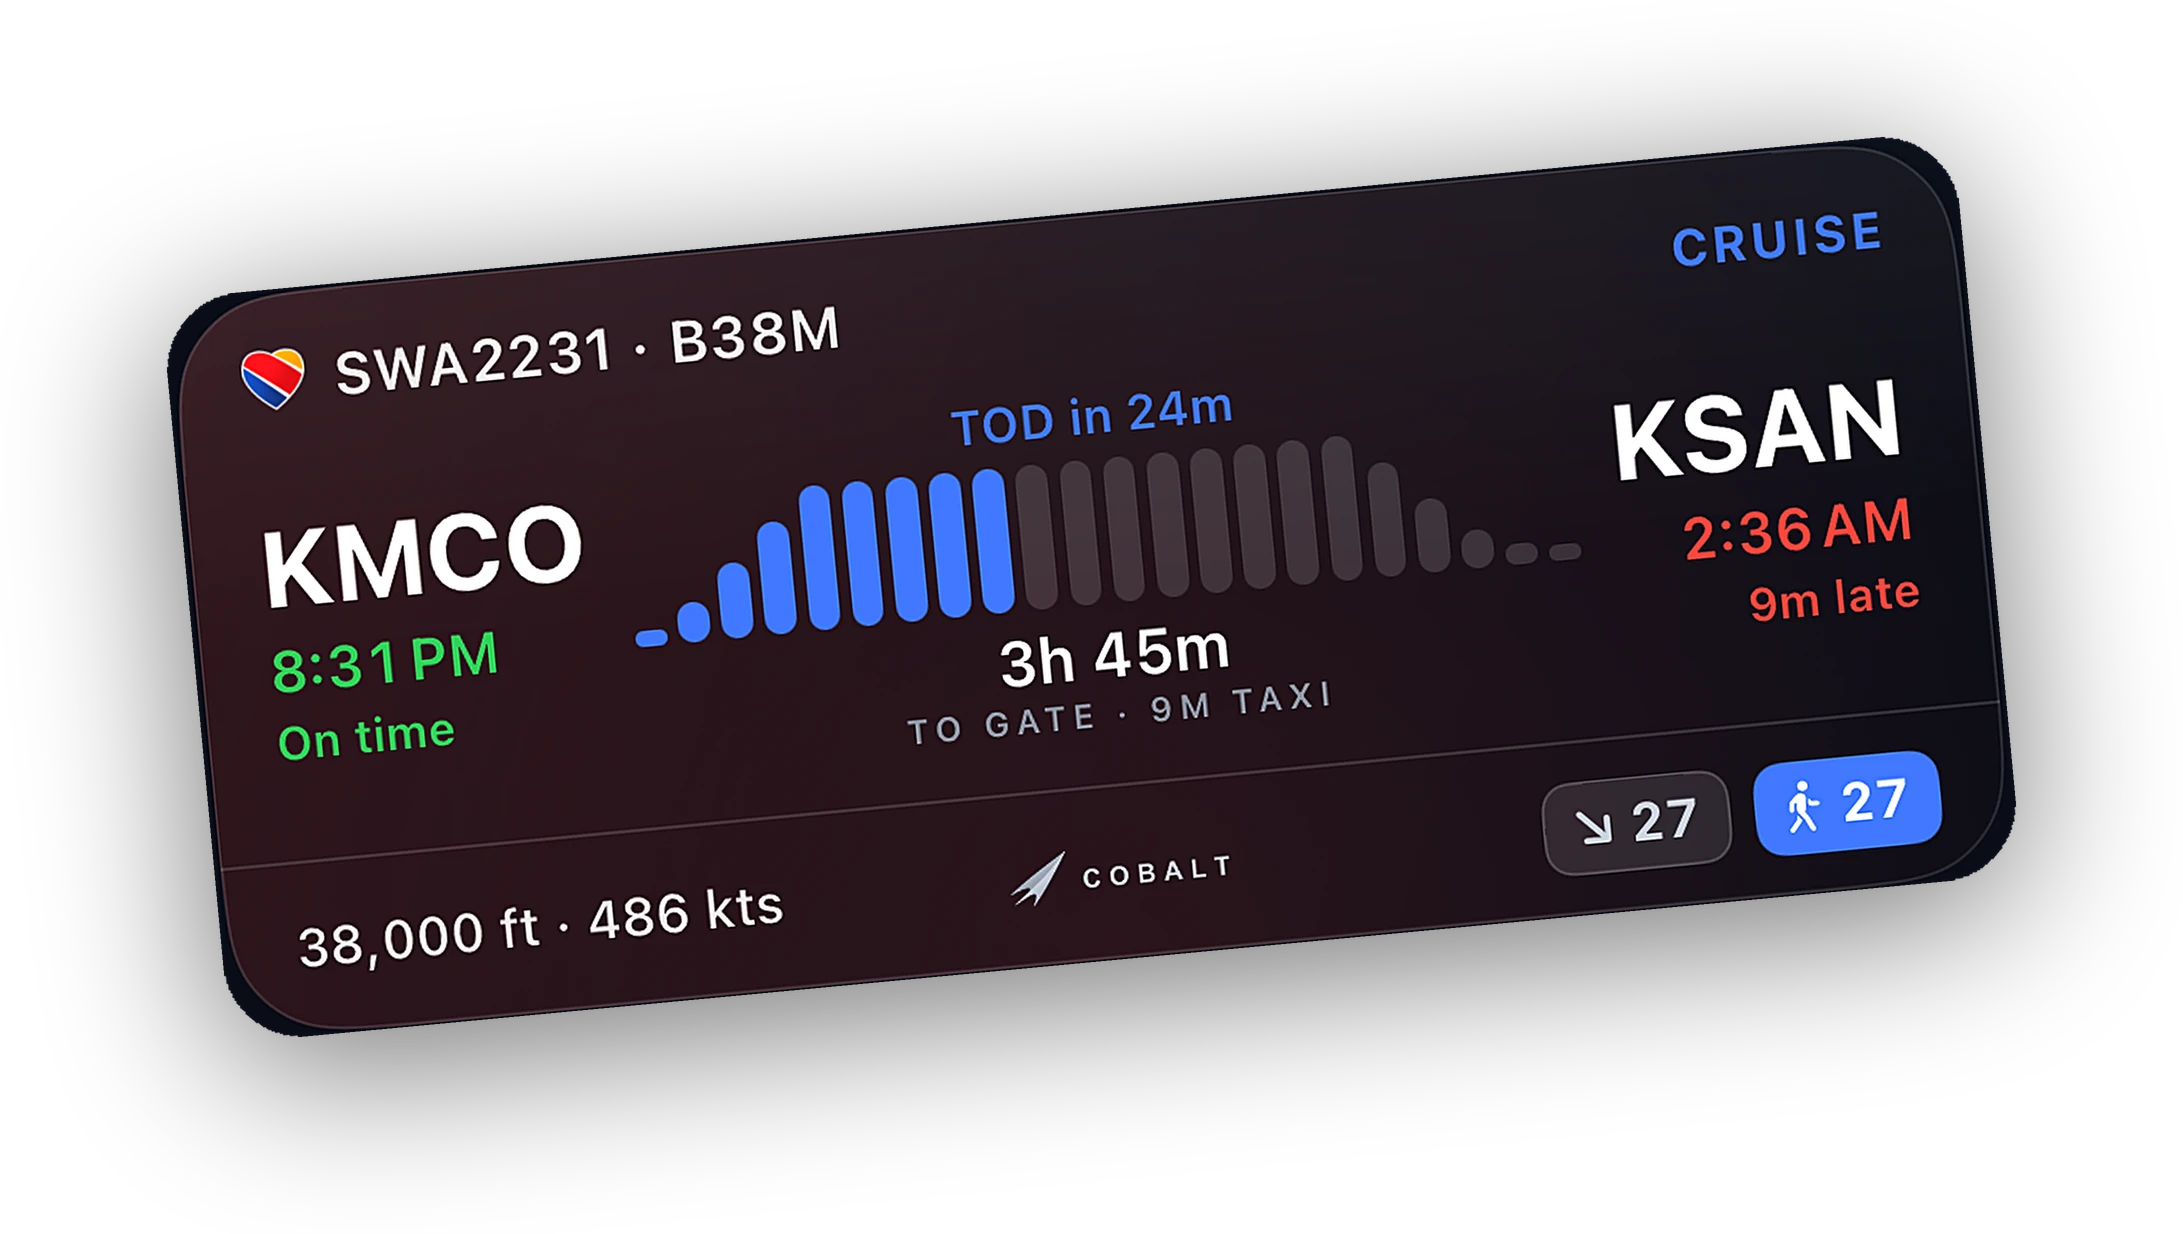
The short answerMount the iPad within reach and below your main view, keep it on power, and put it on the same network as the sim PC, ideally with the PC wired to the router. Use it for what is awkward on the main screen: the live map, systems readouts, ATC messages, and airport weather. Cobalt runs on iPad with a sidebar layout that keeps the map on screen while you work.
What you need
- An iPad running iPadOS 18 or later.
- A mount or stand that holds it steady at your seat.
- A charger and a cable long enough to reach the mount.
- Cobalt Bridge on the sim PC and Cobalt on the iPad.
Why an iPad works
The main monitor belongs to the outside view and the panel. Everything else, the map, the weather, a frequency you need to check, either covers the view or sends you alt-tabbing. A tablet at arm's length takes that load off, and a tap is faster than hunting for a window with the mouse.
It is also a lighter lift than a second monitor. No extra GPU output, no window management, and it comes with you when the flight is done.
Quick setup
-
Mount it
Below your main view and within reach, without leaning over the controls.
-
Power it
A charger at the mount, with the cable routed clear of the stick and throttle.
-
Connect it
Same network as the sim PC. Allow Local Network access when iPadOS asks, and allow the Bridge on Private networks in Windows Firewall.
-
Lay it out
Map on screen, with Systems, Inbox, or an airport sheet in the sidebar beside it.
Mounting and placement
Where the iPad sits matters more than which iPad it is. The common options:
- Desk clamp arm. Clamps to the desk edge and holds the iPad beside or below the monitor. The most flexible option, and the easiest to adjust between flights.
- Yoke or throttle clamp. Puts the iPad where a real electronic flight bag lives. Check it does not block hand travel or any switches on the quadrant.
- Kneeboard strap. Realistic and cheap, but it moves with you and tends to slide on long flights.
- A plain stand. Fine for a desk setup with a gamepad or keyboard, and the simplest place to start.
Aim for the lower edge of your peripheral vision, close enough to tap without leaning. Tilt it slightly toward your eyes to cut glare from the monitor and room lights. If you fly in VR, a tablet is less useful mid-flight, but it still earns its place for planning and for checking the flight with the headset off.
Cobalt supports portrait and landscape on iPad, so pick whichever suits the mount.
Power and the screen
A long-haul with the screen on will drain any iPad. Keep it on a charger at the mount, and route the cable so it does not tug on the mount when you reach for the stick.
You do not need to change Auto-Lock. Cobalt keeps the screen awake on its flight surfaces, Flights, Systems, Inbox, or an open flight, and hands auto-lock back to iPadOS on Atlas and Explore. The screen always sleeps normally once Cobalt is in the background. For night flights, turn the brightness down. A dim sim room and a full-brightness tablet fight each other.
Wi-Fi and the connection
The iPad connects to Cobalt Bridge exactly like an iPhone: same network, Local Network permission allowed, and the Bridge allowed through Windows Firewall on Private networks. The best single upgrade is a wired Ethernet connection for the sim PC. It keeps the PC's link steady and leaves the Wi-Fi to the iPad.
A strong signal at the desk matters more than internet speed, because Bridge traffic at home never leaves your network. If the router is in another room, a mesh node near the desk on the same network beats a separate extender network. The setup guide covers the common network fixes.
You can run an iPad and an iPhone at once. The Bridge accepts more than one device and counts them on its Settings page under Phones connected.
What to put on the iPad
On iPad, Cobalt turns its bottom sheet into a floating sidebar column. The map stays visible the whole time, with the tabs beside it. Here is what earns the space mid-flight.
The live map
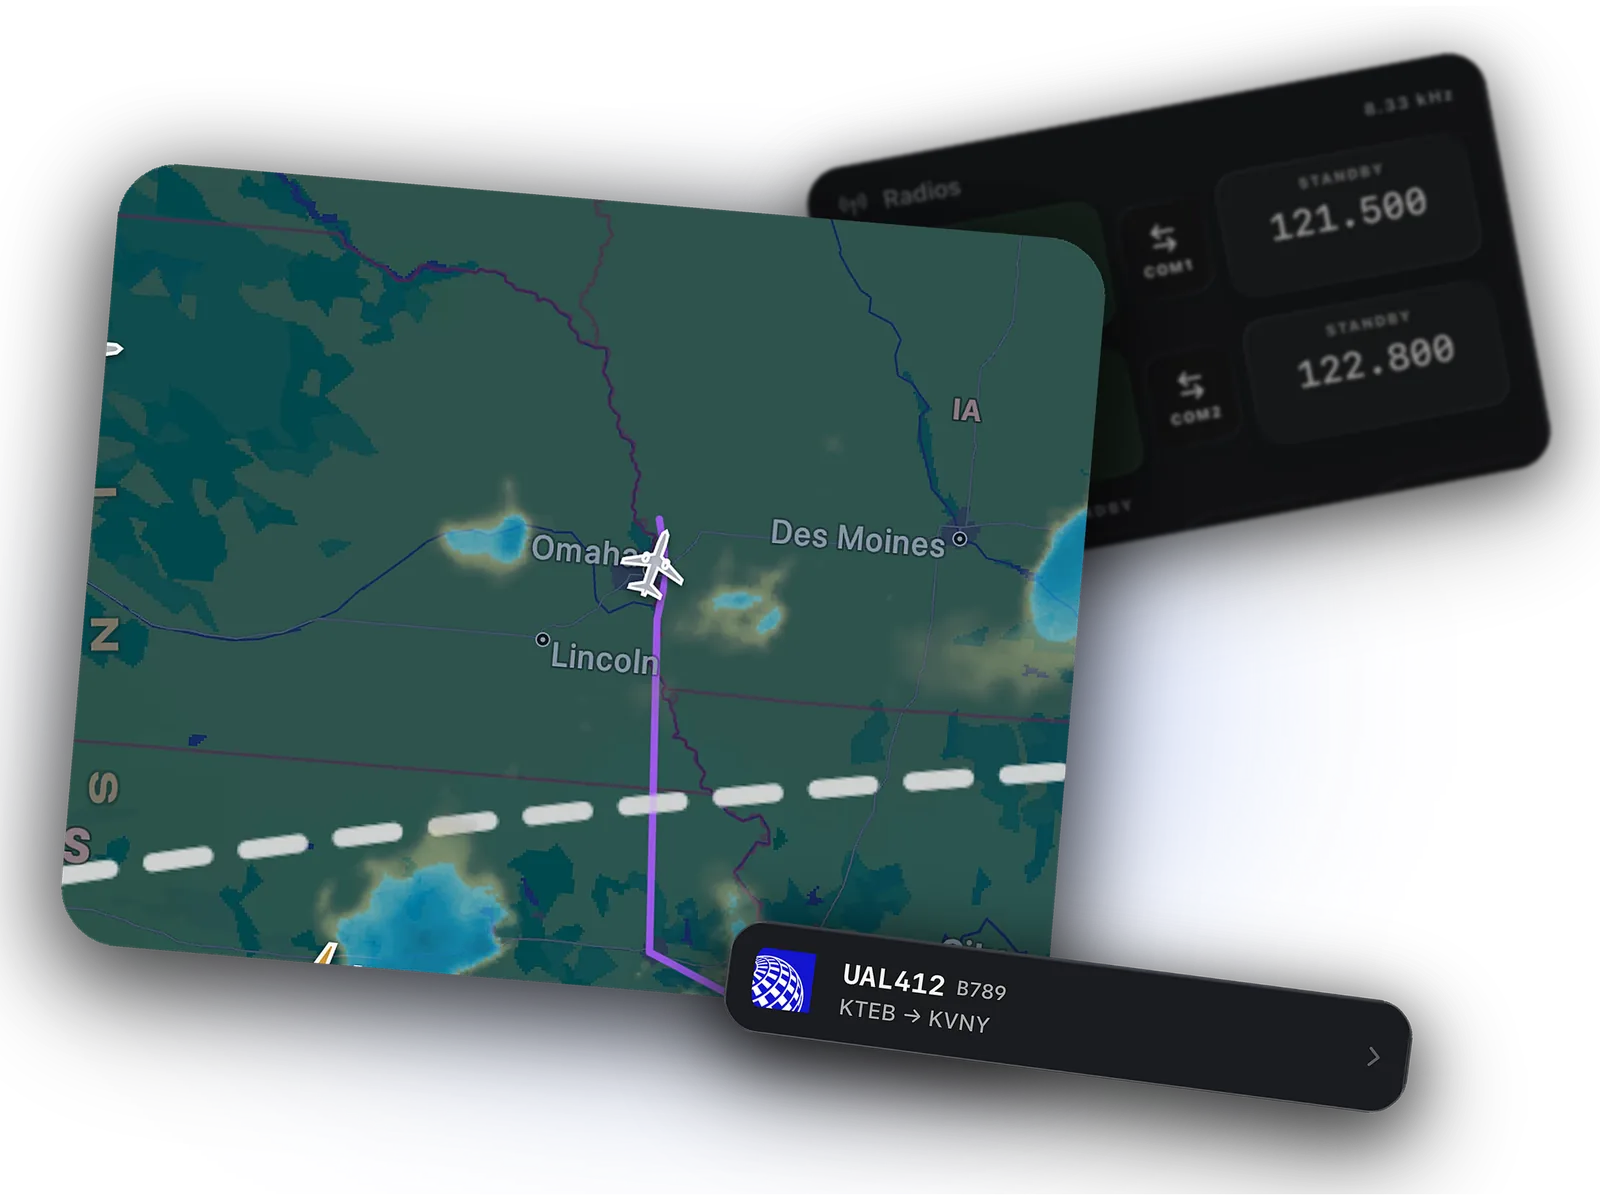
Your aircraft, the route arc, VATSIM and IVAO traffic, and controllers online. On a bigger screen, the whole route and the airspace around it read at once. More on the live map.
Systems
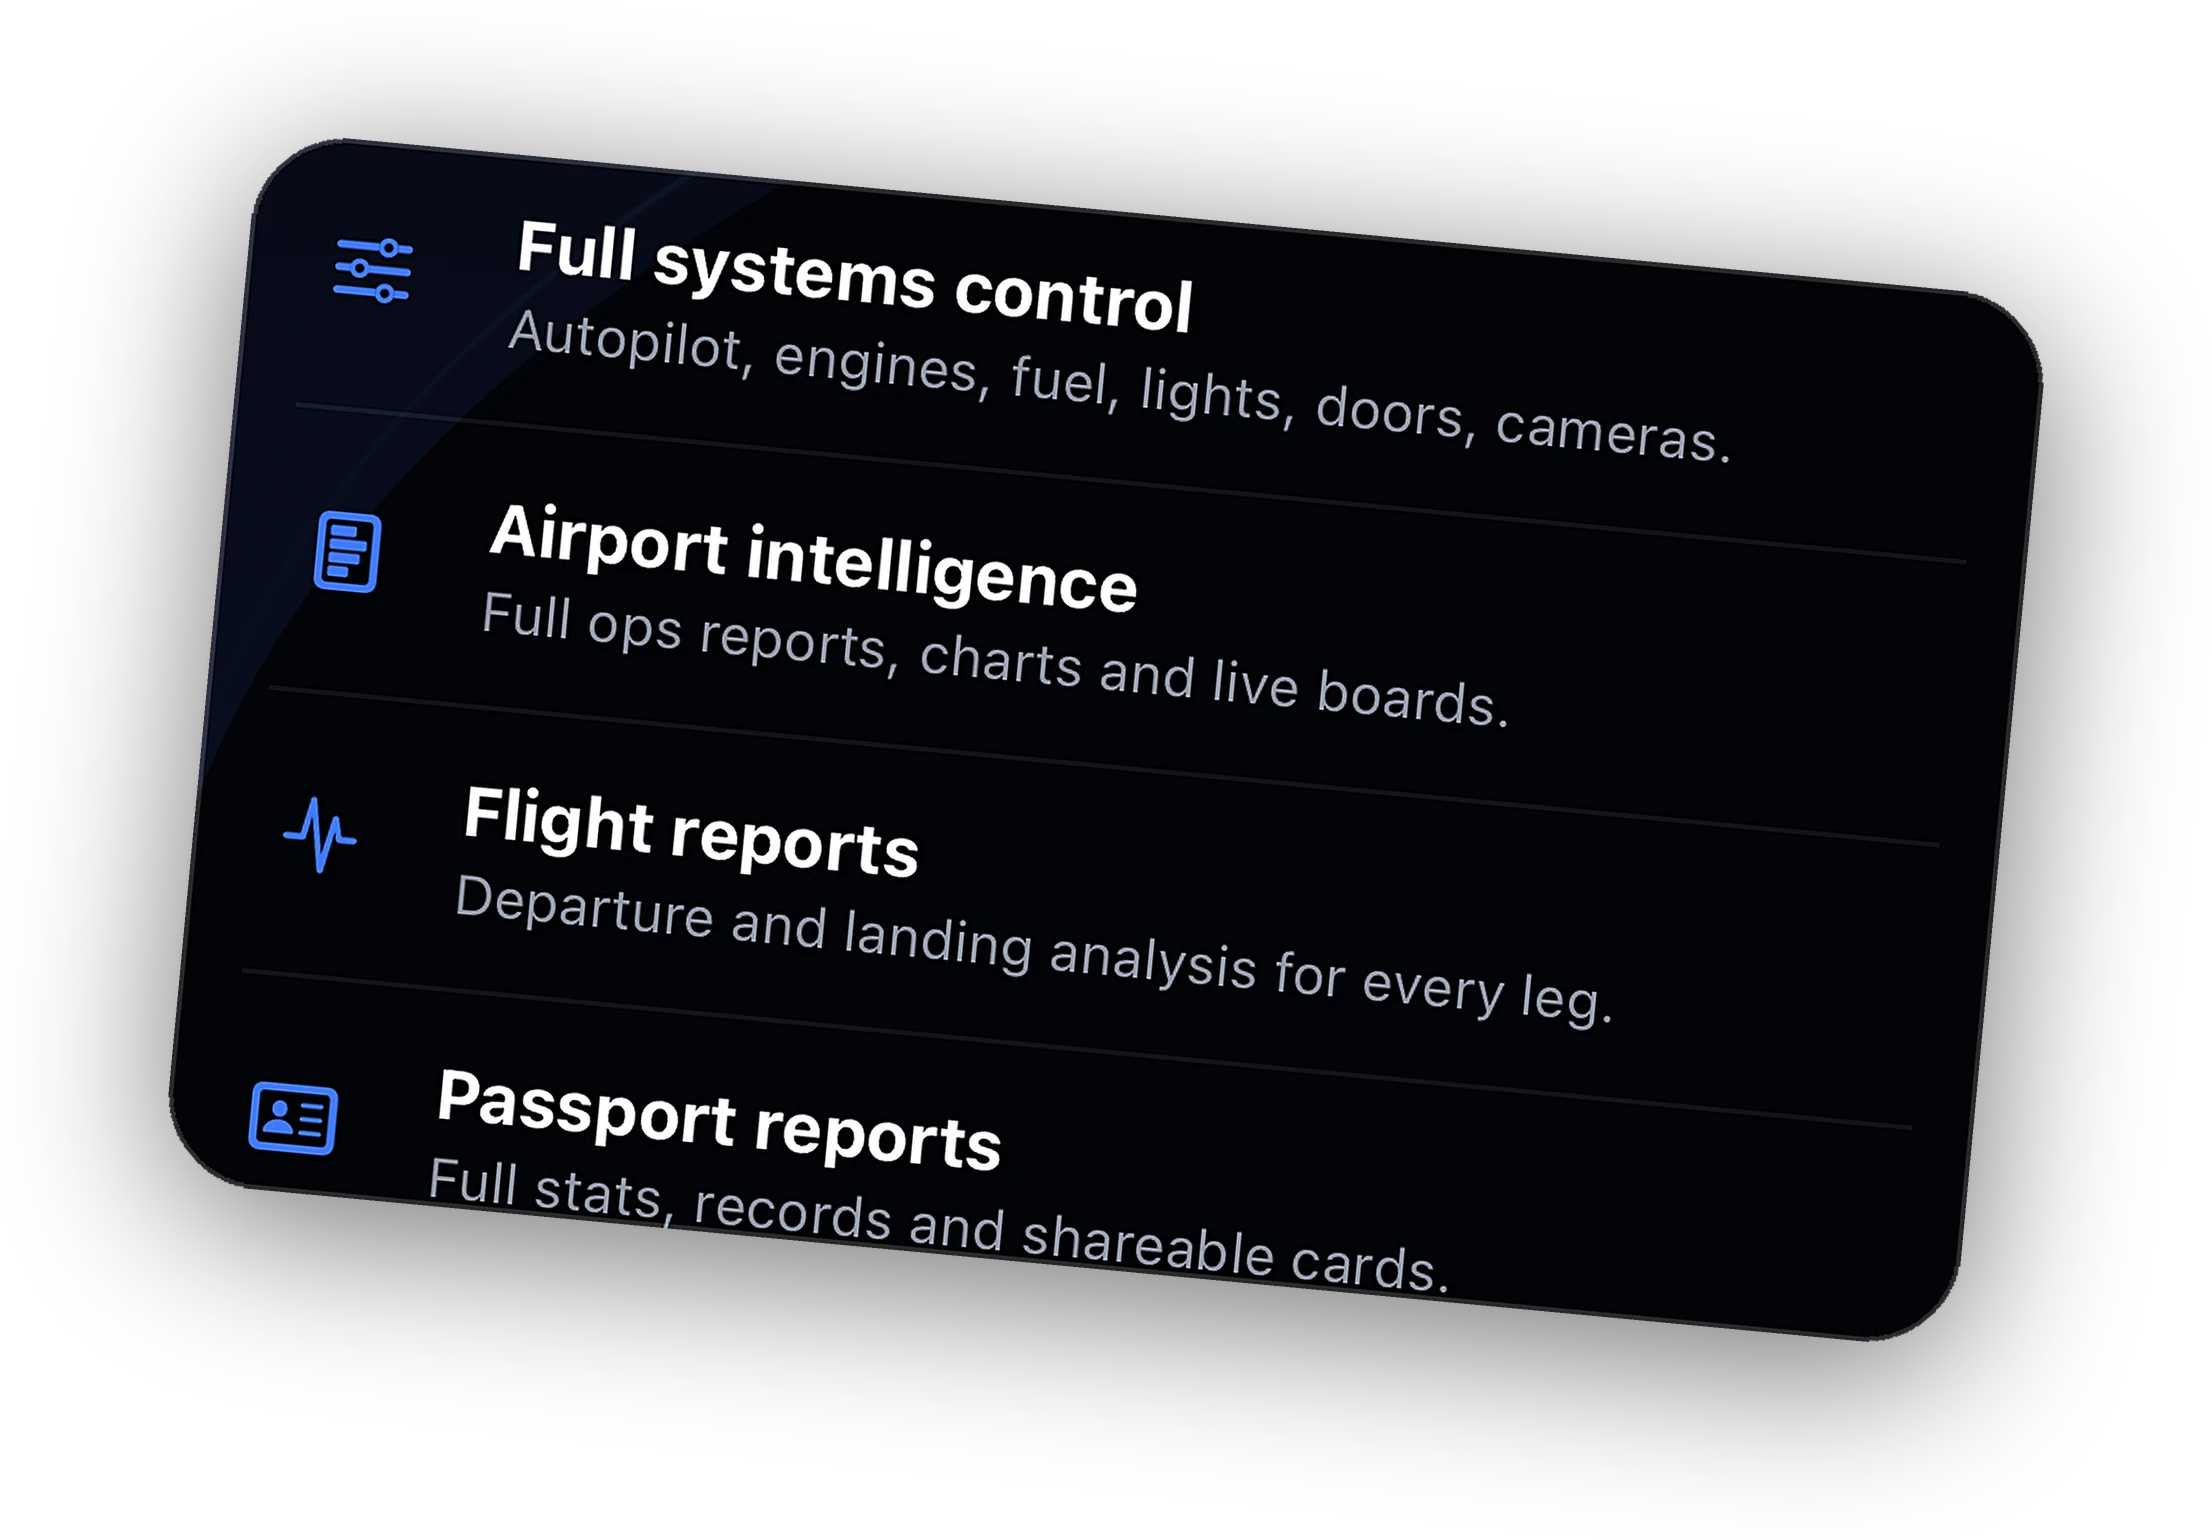
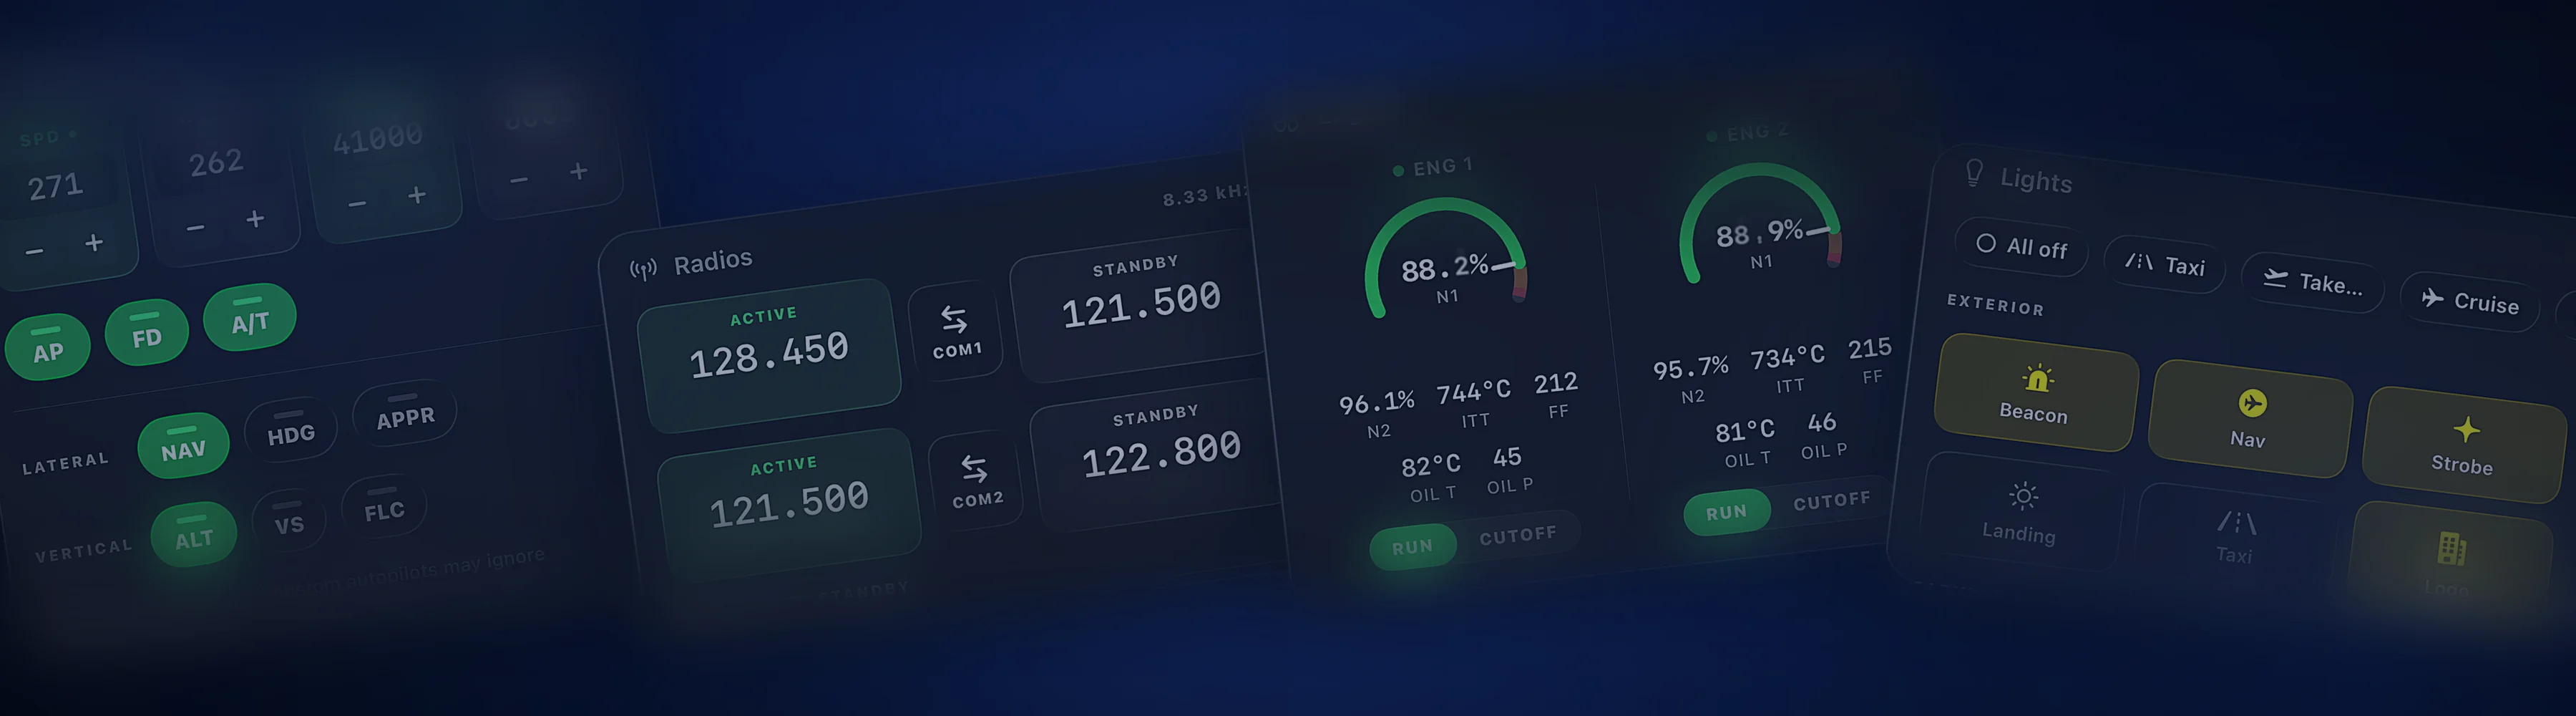
Autopilot, engines, fuel, electrical, pressurization, lights, cameras, and radios. Readouts are free. Peak turns the cards into controls, so you can set heading and altitude or flip the lights without reaching for the mouse. Some study-level aircraft expose fewer controls; the aircraft pages cover the details.
ATC and airports
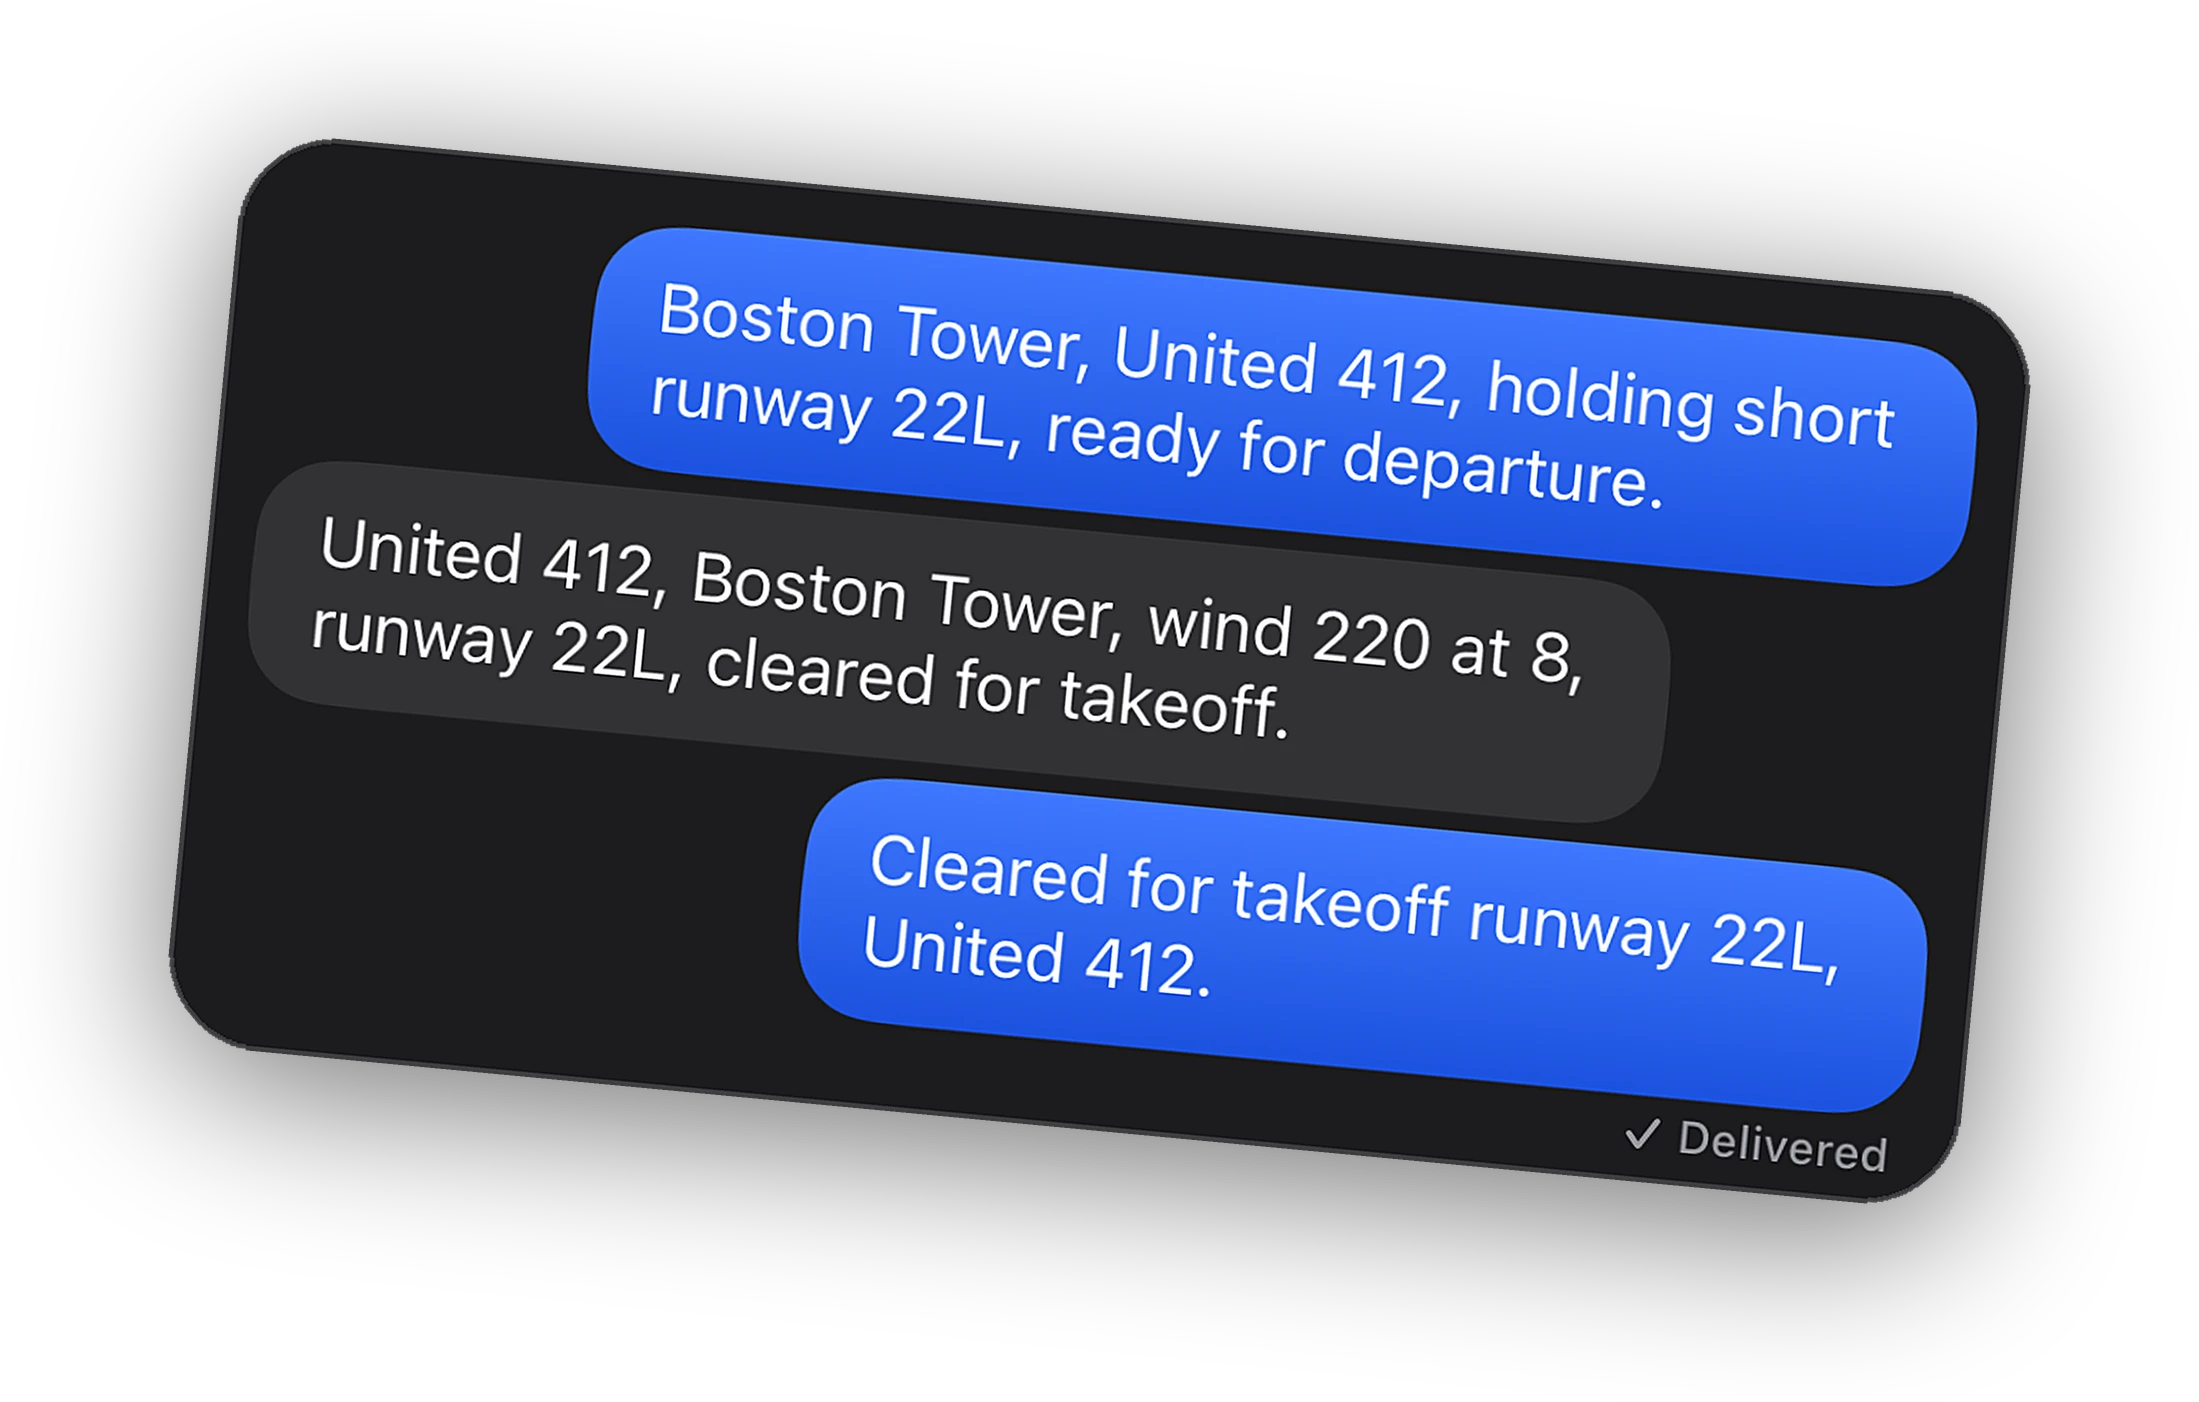
Inbox for controller messages on VATSIM, and airport sheets with decoded METAR, live boards, and every station online. The airport sheet also links out to ChartFox and SkyVector for charts.
Cobalt is a companion. It does not provide navigation data or replace charts. Keep your charts app one swipe away for plates and taxi diagrams. If you run Cobalt beside another app and its window gets narrow, Cobalt switches to the phone layout with the bottom sheet.
iPad and iPhone together
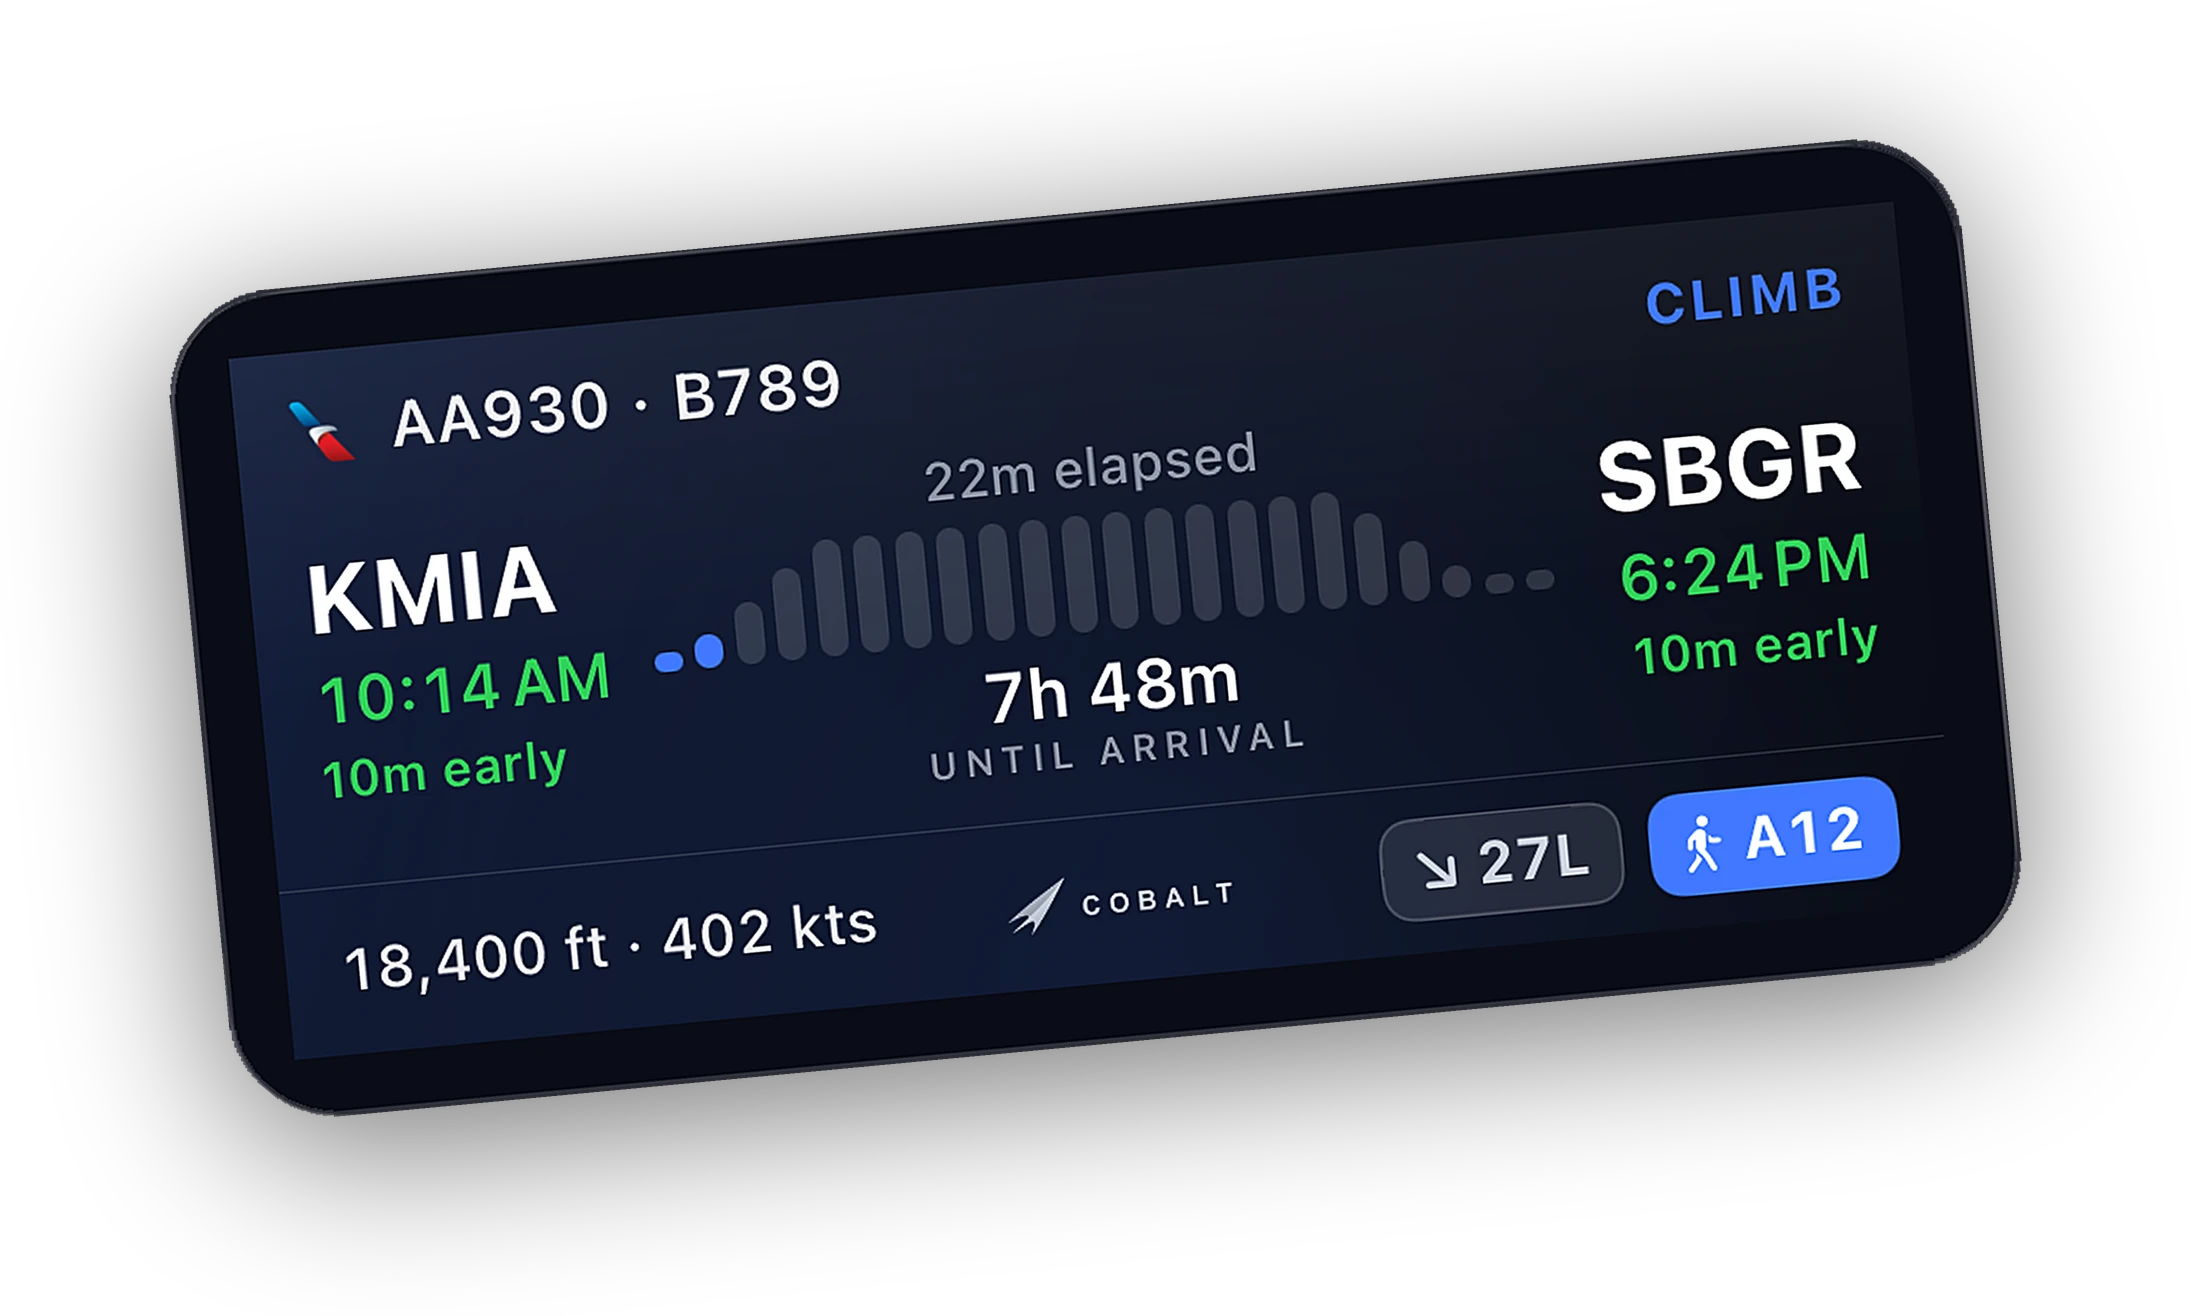
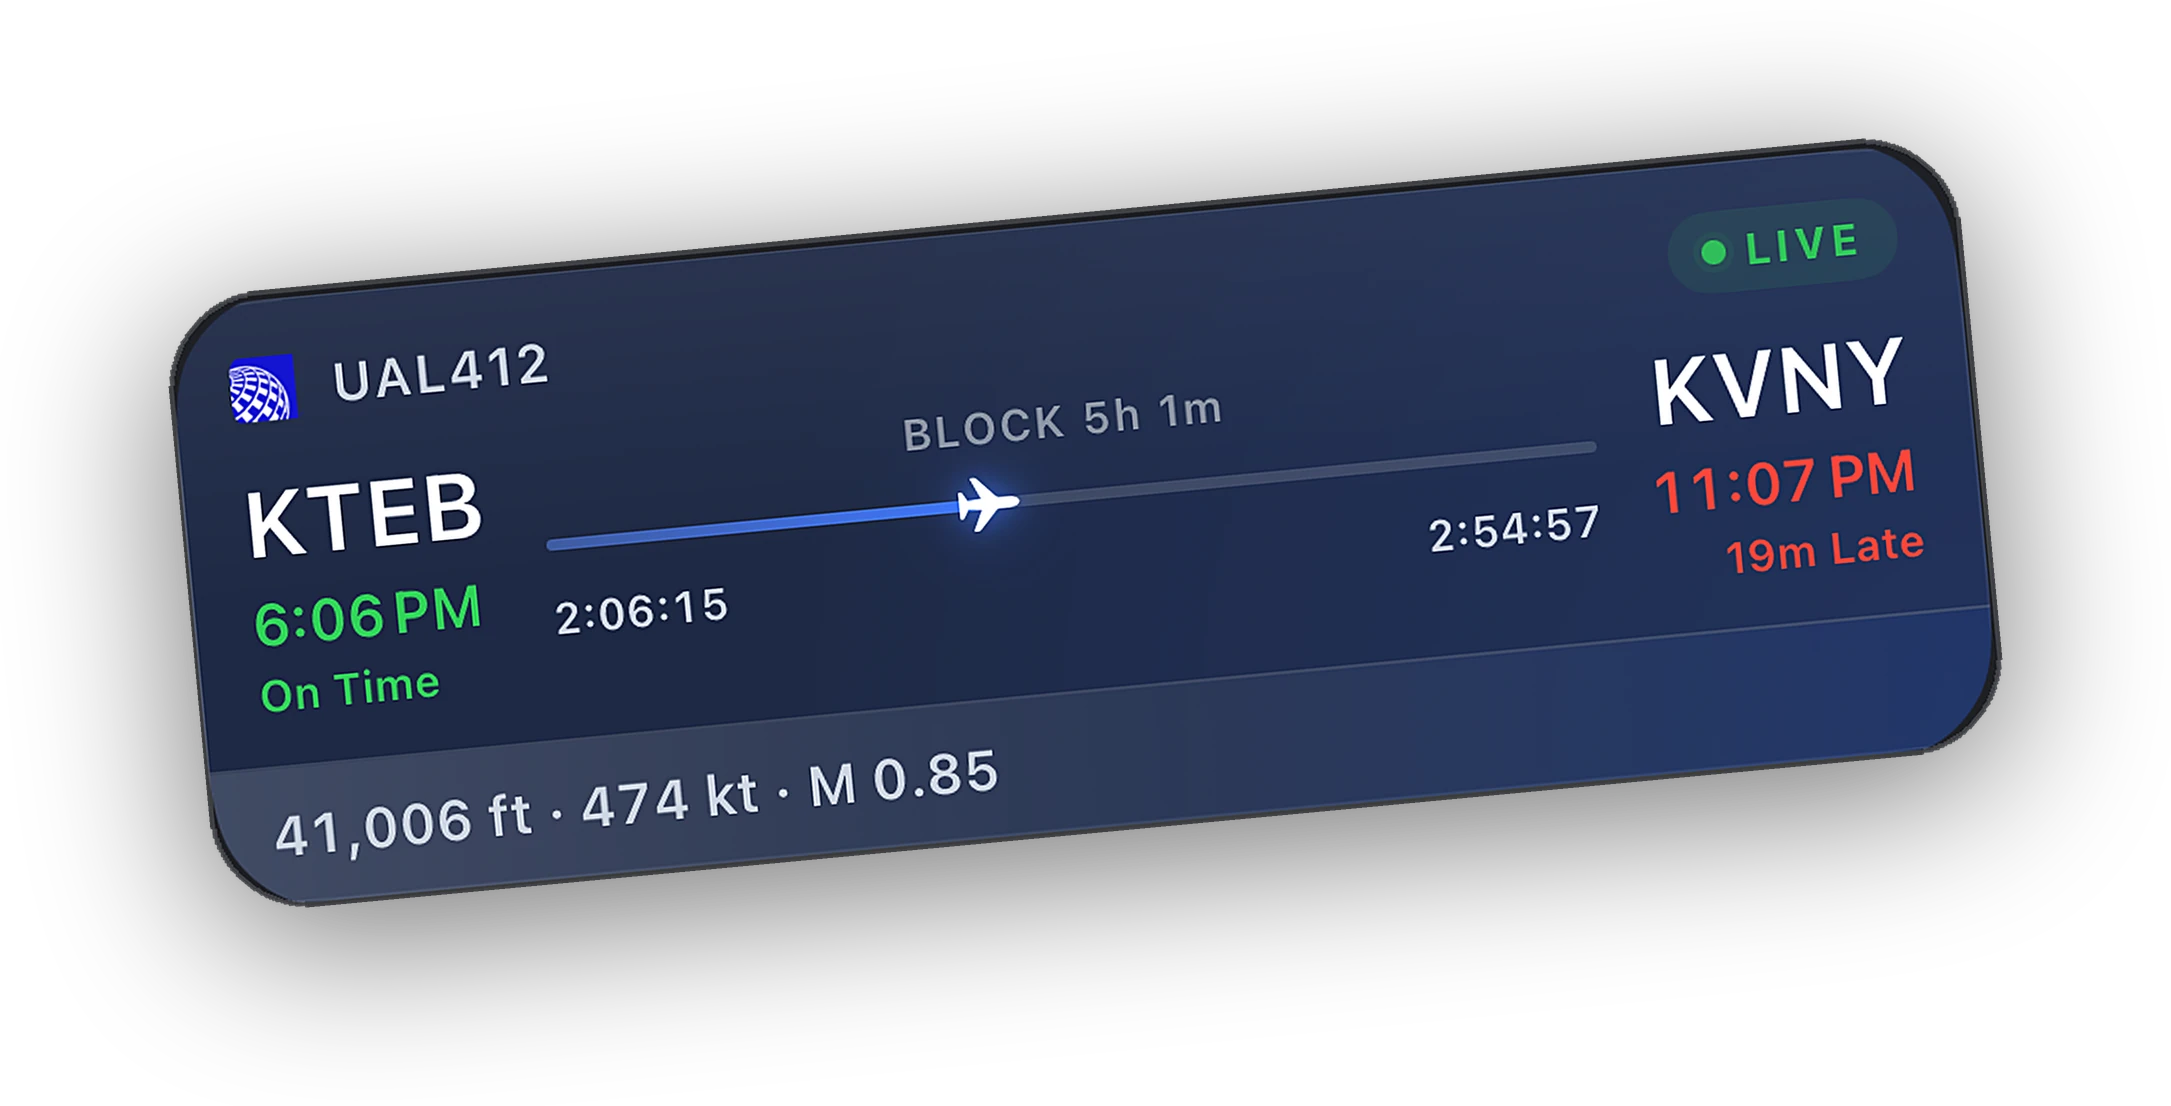
The two do different jobs well. The iPad is the cockpit screen. The iPhone is what leaves the room: the Lock Screen Live Activity, the Dynamic Island, and the Apple Watch app all travel with the phone in your pocket. A common setup is the iPad on the mount for the map and systems, and the iPhone for top-of-descent alerts when you step away. The Lock Screen guide covers that half.
Questions
Does Cobalt work on iPad?
Yes. The same app runs on iPhone and iPad. On iPad the sheet becomes a sidebar column and the map stays visible the whole time.
Which iPad do I need?
Any iPad that runs iPadOS 18 or later. A bigger screen shows more map, but every size works.
Can I use an iPad and an iPhone at the same time?
Yes. The Bridge accepts more than one device at once and shows how many are connected on its Settings page.
Does Cobalt show charts?
The airport sheet links to ChartFox and SkyVector for the airport. Cobalt does not replace a charts app or provide navigation data.